Is this your first time decorating cookies? Don’t worry, it’s easy. Just follow these instructions:
First, set up your workspace. Your surface should be flat, clean, and comfortable for you to sit or stand at. I like to use a wire baking rack or cookie sheet, but you can use a clean counter top or piece of parchment paper as a work surface. Next you will want to gather your supplies. If you are using one of our kits, unpack the box. The only thing you will need to supply is a butter knife, spoon, toothpick, or offset spatula. If you baked your own cookies you will need:
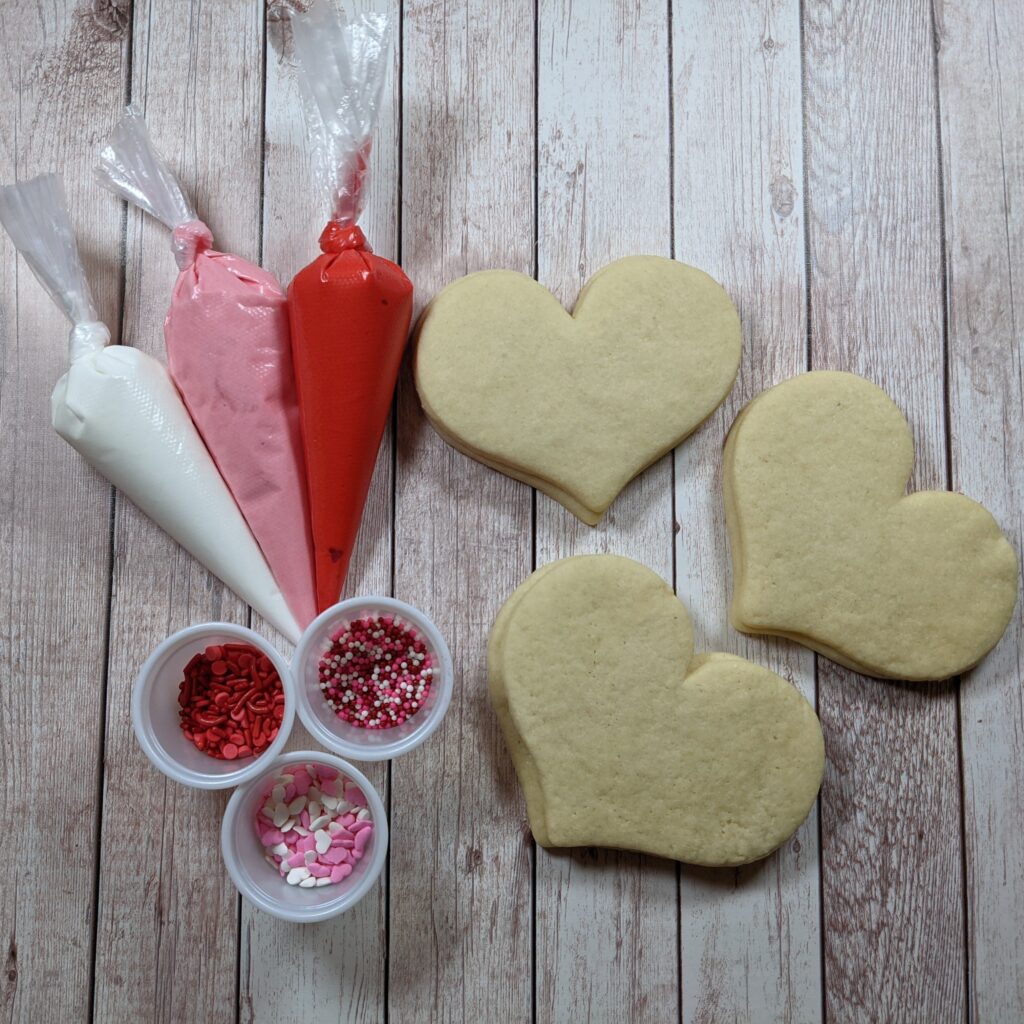
- Baked and cooled sugar cookies
- Colored royal icing
- Piping bags or zip-top bags to hold icing
- Sprinkles (if using)
- A butter knife, offset spatula, toothpick, or spoon
Once you have your supplies together, you are ready to begin decorating. Start with the outline. For outlining, it is easiest to use piping bags to hold the icing. Cut off the very tip of the bag to make a small opening for the icing to come out. You can also use a gallon sized zip-top bag in place of the piping bag if you want. Lay out your cookies on your work space. It can be hard to move the cookies once you begin decorating, so plan ahead. If I am using a rack or cookie sheet, I like to start with the cookie close to me, then once I am done with that cookie, I gently scoot it to the back of the work area to dry.
Use your piping bag to outline the edges of the cookie with icing. Then set the cookies aside to dry for 5-10 min. If you are doing several cookies at once, I like to outline all the cookies, then move onto filling them in. By the time I am done outlining the last cookie, the first cookies are dry enough to fill.

Once your outline has had a chance to dry a little, fill in the outline with more icing. To begin, you don’t have to fill it in completely, just squeeze some icing inside the outline, then use your butter knife, spatula, toothpick, or spoon to spread the icing out. If you have any spots that you can’t fill in, add more icing and spread some more until your outline is filled in. If you are adding more than one color of fill, do one color, allow that to dry for a few minutes, then add the second color.


If you want to add sprinkles, add them now, while the fill icing is still wet. For larger sprinkles, gently tap them once they are on the cookie to help them stay.

To add details on top of the fill, wait until the fill icing has dried for at least 20-30 min–it should have formed a slight crust–and then carefully add the details on top of the fill icing. Be careful not to press down on the fill icing, as it won’t be completely dry yet. You can also allow the fill icing to dry completely and add the details the next day.
Once you are happy with your cookies, leave them uncovered to dry for at least 2-3 hours. Overnight is best. You can then stack and store your cookies in an airtight container and keep them at room temperature. That’s it! You’ve just decorated your first sugar cookies. Don’t be afraid to get creative. Use multiple colors. Just use an outline. Add different details. The sky is the limit!
