Another easy way to add interest to your cookies is with marbling. It looks complicated but it is easy to do. Here’s what you will need:
- Sugar cookies
- Two or more colors of royal icing
- Offset spatula, butter knife, or spoon
- Toothpick, wooden skewer, or scribe tool
To start, follow the instructions in The Basics on how to outline your cookies using one color of icing (we will call this color 1). In this example it is orange.

Allow the outline to dry, then fill in the cookie with icing color 1. Use your spatula, knife, or spoon to spread the fill icing to cover the entire cookie.

Before the fill icing has a chance to form a crust or film, use icing color 2 to add stripes to your cookie. The color 2 icing should sink down into the color 1 icing, but not spread. If icing color 2 spreads, wait a minute or two and try again. If the stripes don’t settle into your base icing, you can try gently shaking your cookie back and forth on your work surface to encourage them to settle in.
Once you have added your stripes and before the icing begins to crust, use your toothpick to drag from top to bottom on your cookie. Wipe your toothpick, move over a little bit and drag again. Repeat until you have gone over the entire cookie. You should end up with something that looks like this:

If you are happy with your marbling, stop here. It’s that simple.
If you want to more, you can outline the shape on top of the fill and marbling with a contrasting color. Or you can pipe words or designs on top of the marbling to personalize them. If you want to add designs on top of your marbling, wait until the fill icing is dry 2-3 hr or overnight) and then pipe your designs on top.
Here a few examples of cookies I have made where I used this technique:

Autumn Birthday 
Goodbye 
Bowling 
Pokemon 2 
Smiley Face 
Barber Shop Birthday 
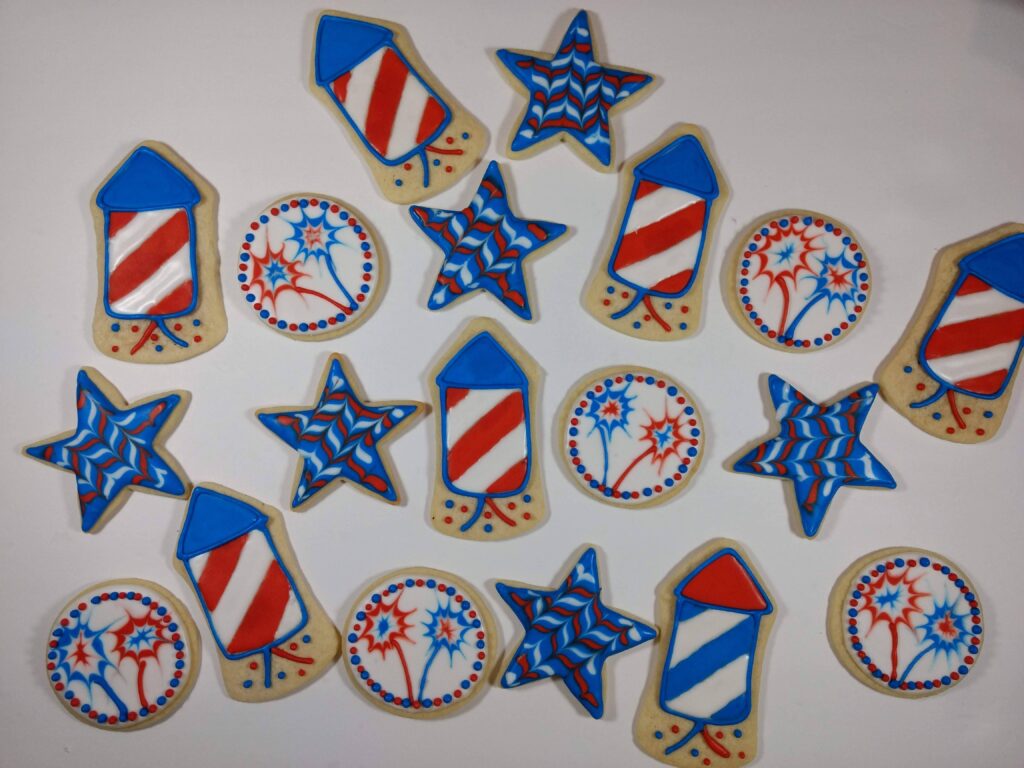
4th of July